项目初始化
完成需求分析和技术方案设计之后,我们正式开始编码工作,首先我们需要完成应用初始化,包括数据库、模型类以及测试框架。
准备工作
第一步当然是初始化应用,我们使用 Laravel 安装器初始化新的应用,应用名称是 payroll:
laravel new payroll
然后在本地 MySQL 数据库中建好数据库 payroll,在 .env中配置对应的数据库连接:
DB_CONNECTION=mysql
DB_HOST=127.0.0.1
DB_PORT=49153
DB_DATABASE=payroll
DB_USERNAME=root
DB_PASSWORD=mysqlpw
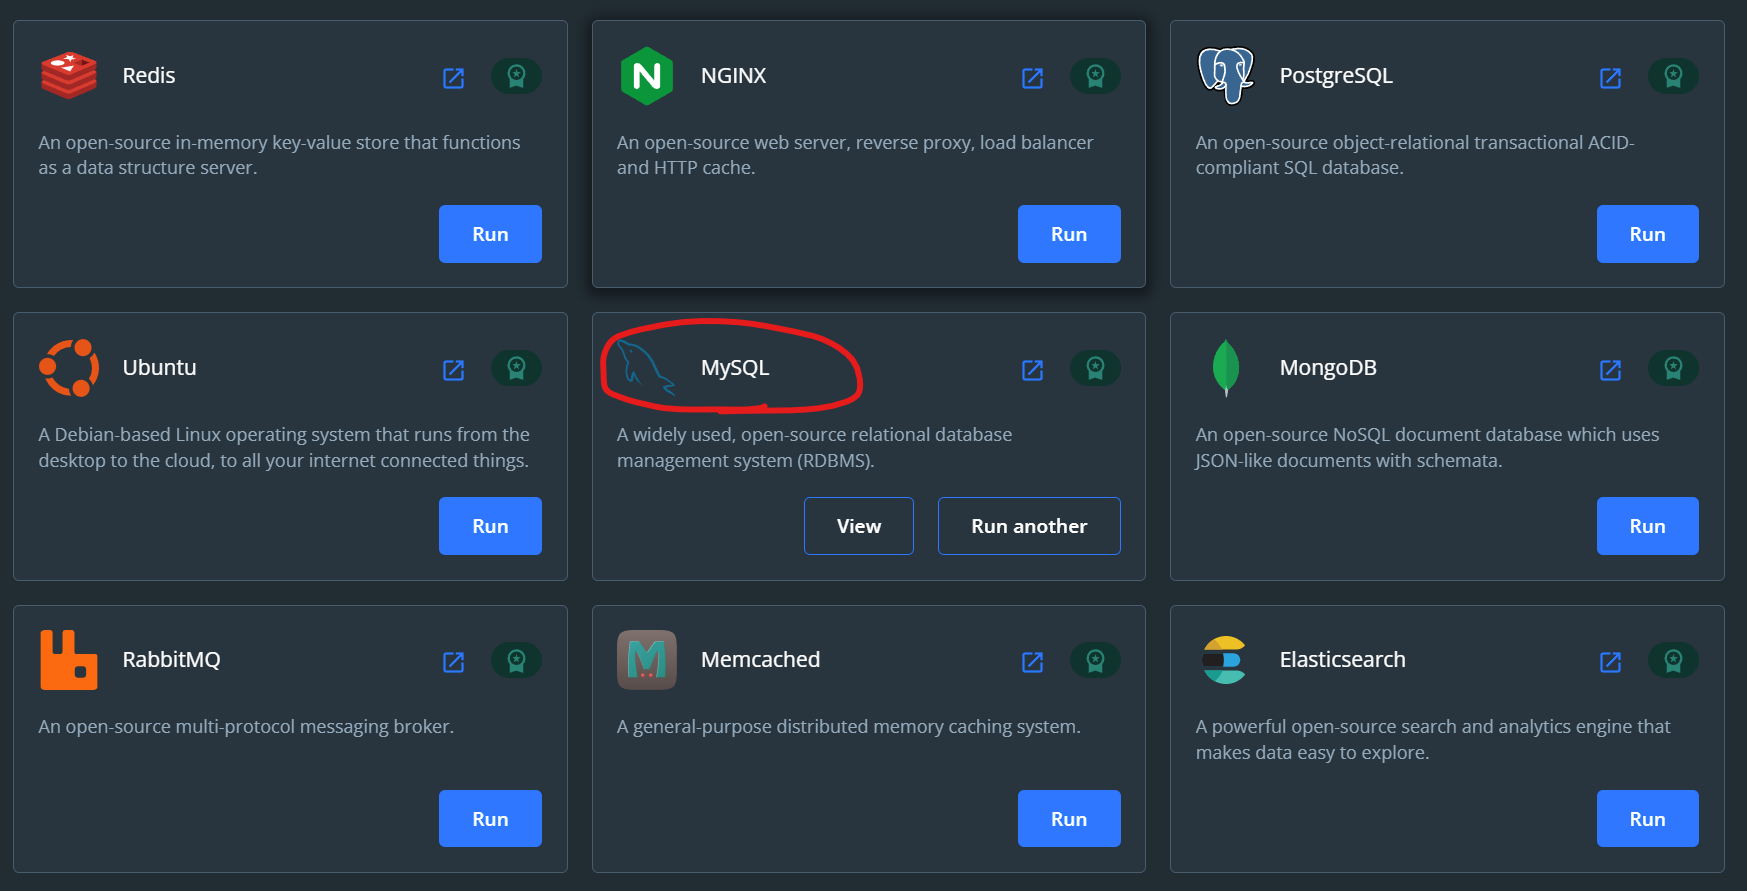
我使用的是 Docker 自带的 MySQL 镜像,毕竟方便,点击右下角 Run 按钮即可本地启动 MySQL 开发环境了:
由于我们会使用 JSON:API Resource 和 Laravel Query Builder 这两个扩展包实现 JSON API,所以可以先安装这两个依赖包:
composer require timacdonald/json-api

composer require spatie/laravel-query-builder
php artisan vendor:publish --provider="Spatie\QueryBuilder\QueryBuilderServiceProvider" --tag="query-builder-config"
Blueprint
接下来是数据库相关的初始化,这里我们使用第三方扩展包 Blueprint 通过配置文件快速完成 Laravel 数据库迁移、模型类、工厂类等组件的编排和创建:
composer require --dev laravel-shift/blueprint
发布配置文件 draft.yaml 到项目根目录:
php artisan blueprint:new --config
然后在 draft.yaml 中编写模型、模型字段属性以及模型之间的关联:
models:
  Department:
    uuid: uuid
    name: string:50
    description: longtext
    relationships:
      hasMany: Employee
  Employee:
    uuid: uuid
    full_name: string:100
    email: string:100 index
    department_id: id foreign
    job_title: string:50
    payment_type: string:20
    salary: integer unsigned nullable
    hourly_rate: integer unsigned nullable
    relationships:
      hasMany: Paycheck, Timelog
  Paycheck:
    uuid: uuid
    employee_id: id foreign
    net_amount: integer unsigned nullable
    payed_at: timestamp nullable
    relationships:
      belongsTo: Employee
  TimeLog:
    uuid: uuid
    employee_id: id foreign
    started_at: timestamp nullable
    stopped_at: timestamp nullable
    minutes: integer unsigned nullable
    relationships:
      hasMany: Employee
运行如下命令即可生成对应的模型类、数据库迁移以及模型工厂:
php artisan blueprint:build
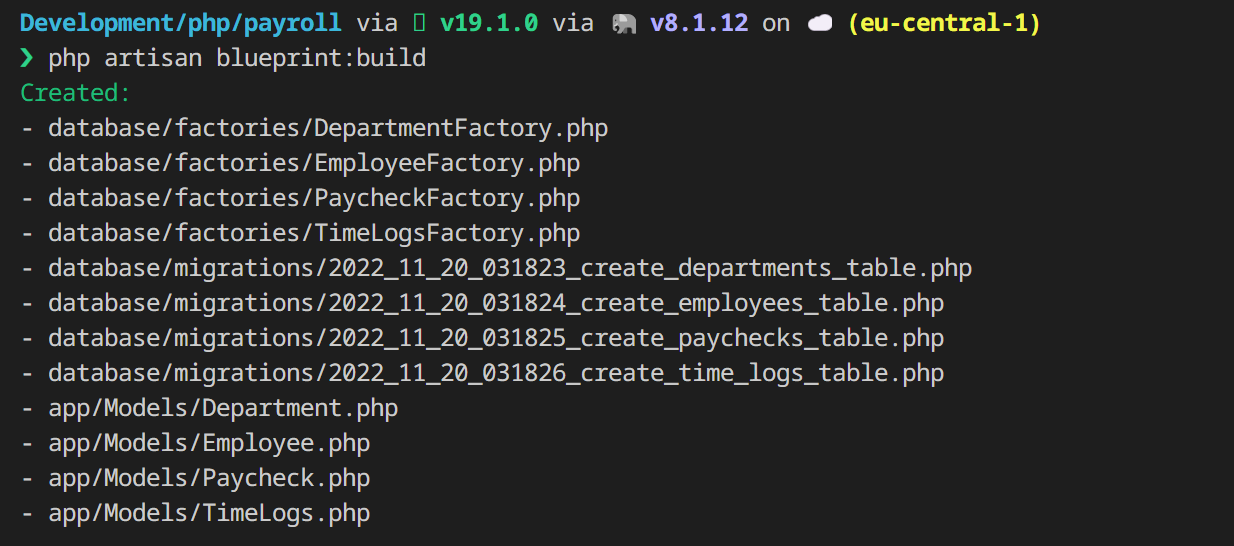
最后运行 php artisan migrate 基于数据库迁移文件在数据库中创建对应的数据表。
通过这个扩展包来管理数据模型相关的类和文件还是很方便的,你甚至还可以通过它生成控制器、表单请求、视图模板、路由、任务、事件等组件(需要额外配置),它的配置文件 draft.yaml 就像项目蓝图,你可以根据它快速生成 Laravel 项目运行所需的组件。更多使用细节可以参考官方文档。
API 版本
其实对我们这个小项目来说,目前不需要关注 API 版本,但是考虑到后续的迭代,可能需要一开始就做好规划:
/api/v1/employees
/api/v2/employees
我们可以针对不同版本 API 新建对应的路由文件管理相关路由:
routes/api/v1.php
routes/api/v2.php
最后在 app/Providers/RouteServiceProvider.php 中通过路由前缀+版本文件提供对 API 版本的支持和管理:
public function boot()
{
    $this->configureRateLimiting();

    $this->routes(function () {
        Route::middleware(['api', 'auth:sanctum'])
            ->prefix('api/v1')
            ->group(base_path('routes/api/v1.php'));

        Route::middleware(['api', 'auth:sanctum'])
            ->prefix('api/v2')
            ->group(base_path('routes/api/v2.php'));
    });
}
UUID
我们在 API 最佳实践中提到过,API 不要对外暴露自增 ID,而要使用 UUID,两者的适用场景如下:
- API 层使用 UUID
- 业务逻辑层使用 ID(主要是数据库查询场景)
这个 UUID 可以在模型创建的时候自动生成,对于需要 UUID 字段的模型,我们可以定义一个可以被所有模型类复用的 Trait:
<?php
namespace App\Models\Concerns;

use Illuminate\Database\Eloquent\Model;
use Ramsey\Uuid\Uuid;

trait HasUuid
{
    public static function bootHasUuid(): void
    {
        static::creating(function (Model $model): void {
            $model->uuid = Uuid::uuid4()->toString();
        });
    }
}
这样一来,使用了该 Trait 的模型每次执行插入操作时,就会自动注入 UUID,而不需要为每个模型类编写重复的代码:
<?php

namespace App\Models;

use App\Models\Concerns\HasUuid;
use Illuminate\Database\Eloquent\Factories\HasFactory;
use Illuminate\Database\Eloquent\Model;
use Illuminate\Database\Eloquent\SoftDeletes;

class Employee extends Model
{
    use HasFactory;
    use HasUuid;
    use SoftDeletes;

    /**
     * The attributes that are mass assignable.
     *
     * @var array
     */
    protected $fillable = [
        'uuid',
        'full_name',
        'email',
        'department_id',
        'job_title',
        'payment_type',
        'salary',
        'hourly_rate',
    ];

    /**
     * The attributes that should be cast to native types.
     *
     * @var array
     */
    protected $casts = [
        'id' => 'integer',
        'department_id' => 'integer',
    ];

    public function paychecks()
    {
        return $this->hasMany(Paycheck::class);
    }

    public function timelogs()
    {
        return $this->hasMany(Timelog::class);
    }

    public function department()
    {
        return $this->belongsTo(Department::class);
    }

    public function getRouteKeyName(): string
    {
        return 'uuid';
    }
}
这里还有一个要关注的点,就是我们通过 getRouteKeyName 方法设置了 HTTP 路由中将使用 UUID 而不是自增 ID 作为资源的标识。
其他模型类类似,不再重复。
配置 Pest
最后,因为我们的主题是测试驱动开发,所以还需要安装并初始化测试框架 Pest 对应的扩展包(只需要在本地开发环境使用,所以加上了 --dev 标识):
composer require pestphp/pest --dev --with-all-dependencies
composer require pestphp/pest-plugin-laravel --dev
php artisan pest:install
pest:install 命令会在 tests 目录下新建一个 Pest.php 文件,在 uses 调用中新增 LazilyRefreshDatabase,用于在每次执行测试用例前后迁移/清理数据库:
use Illuminate\Foundation\Testing\LazilyRefreshDatabase;

...

uses(Tests\TestCase::class, LazilyRefreshDatabase::class)->in('Feature');
至此,我们已经完成了项目的所有初始化和准备工作,下篇教程就可以开始通过编写测试用例驱动 API 项目的开发了。
完整项目代码已经提及到 Github:https://github.com/geekr-dev/payroll,你可以先睹为快。
无评论