通过 Laravel + Vue 实现文件上传功能
我们在前面的教程中已经实现了多个表单的提交功能,如新增咖啡店、编辑用户个人信息等,但是还没有涉及到文件上传,那么在这篇教程中我们将基于 Laravel + Vue 在新增咖啡店页面实现咖啡店图片上传。
第一步:创建存储文件表
首先我们创建一张数据表 cafes_photos 来存储上传的咖啡店图片:
php artisan make:migration create_cafes_photos_table
编辑新生成的数据库迁移文件:
public function up()
{
    Schema::create('cafes_photos', function (Blueprint $table) {
        $table->increments('id');
        $table->integer('cafe_id')->unsigned();
        $table->integer('uploaded_by')->unsigned();
        $table->text('file_url');
        $table->timestamps();
    });
}
然后运行数据库迁移命令创建数据表:
php artisan migrate
第二步:在模型类中定义关联关系
接下来为新生成的数据表创建模型类 CafePhoto:
php artisan make:model Models/CafePhoto
编辑新生成的模型类 app/Models/CafePhoto.php,定义关联关系方法,咖啡店和用户与咖啡店图片都是一对多的关系:
<?php

namespace App\Models;

use App\User;
use Illuminate\Database\Eloquent\Model;

class CafePhoto extends Model
{
    protected $table = 'cafes_photos';

    public function cafe()
    {
        return $this->belongsTo(Cafe::class, 'cafe_id', 'id');
    }

    public function user()
    {
        return $this->belongsTo(User::class, 'uploaded_by', 'id');
    }
}
相对的,在模型类 app/Models/Cafe.php 中定义咖啡店与图片的关联关系:
// 咖啡店图片
public function photos()
{
    return $this->hasMany(CafePhoto::class, 'id', 'cafe_id');
}
在模型类 app/User.php 中定义用户与咖啡店图片之间的关系:
// 上传的咖啡店图片
public function cafePhotos()
{
    return $this->hasMany(CafePhoto::class, 'id', 'cafe_id');
}
第三步:创建图片存放目录
在 storage/app/public 目录下创建 photos 目录用于存放上传的咖啡店图片。
第四步:调整前端添加咖啡店 API 调用方法
接下来在 resources/assets/js/api/cafe.js 中修改 postAddNewCafe 方法,新增 picture 参数,并且为 axios.post 添加第三个参数用于标识请求头,这样就可以上传文件了:
postAddNewCafe: function (name, locations, website, description, roaster, picture) {
    return axios.post(ROAST_CONFIG.API_URL + '/cafes',
        {
            name: name,
            locations: locations,
            website: website,
            description: description,
            roaster: roaster,
            picture: picture
        },
        {
            headers: {
                'Content-Type': 'multipart/form-data'
            }
        }
    );
},
第五步:更新 Vuex Action 传递图片参数
在 Vuex 模块 resources/assets/js/modules/cafes.js 中修改 addCafe Action 传递 data.picture 参数到上一步修改的 postAddNewCafe 方法:
addCafe({commit, state, dispatch}, data) {
   commit('setCafeAddStatus', 1);

   CafeAPI.postAddNewCafe(data.name, data.locations, data.website, data.description, data.roaster, data.picture)
       .then(function (response) {
           commit('setCafeAddedStatus', 2);
           dispatch('loadCafes');
       })
       .catch(function () {
           commit('setCafeAddedStatus', 3);
       });
},
第六步:更新新增咖啡店表单允许上传图片
最后我们需要修改新增咖啡店组件 resources/assets/js/pages/NewCafe.vue,在模板中「简介」输入字段后面加上图片上传代码:
<div class="large-12 medium-12 small-12 cell">
     <label>图片
         <input type="file" id="cafe-photo" ref="photo" v-on:change="handleFileUpload()"/>
     </label>
</div>
然后在 methods 中定义 handleFileUpload 方法:
handleFileUpload() {
    this.picture = this.$refs.photo.files[0];
}
最后还要修改表单提交方法 submitNewCafe,新增 picture 字段:
submitNewCafe: function () {
    if (this.validateNewCafe()) {
        this.$store.dispatch('addCafe', {
            name: this.name,
            locations: this.locations,
            website: this.website,
            description: this.description,
            roaster: this.roaster,
            picture: this.picture
        });
    }
},
以及 clearForm 方法在清空表单时清除上传图片:
clearForm() {
     this.name = '';
     this.locations = [];
     this.website = '';
     this.description = '';
     this.roaster = false;
     this.picture = '';
     this.$refs.photo.value = '';
     this.validations = {
         name: {
             is_valid: true,
             text: ''
         },
         locations: [],
         oneLocation: {
             is_valid: true,
             text: ''
         },
         website: {
             is_valid: true,
             text: ''
         }
     };

     EventBus.$emit('clear-tags');

     this.addLocation();
},
至此,前端代码调整已经完成了,接下来修改后端控制器方法。
第七步:修改后端 API 处理图片上传
打开控制器文件 app/Http/Controllers/API/CafesController.php,在 postNewCafe 方法中 $parentCafe->save(); 保存咖啡店之后插入如下代码,用于从请求实例中获取上传图片并将其保存到 $destinationPath 目录下,同时保存记录到 cafes_photos 表:
$photo = $request->file('picture');
if ($photo && $photo->isValid()) {
    $destinationPath = storage_path('app/public/photos/' . $parentCafe->id);

    // 如果目标目录不存在,则创建之
    if (!file_exists($destinationPath)) {
        mkdir($destinationPath);
    }

    // 文件名
    $filename = time() . '-' . $photo->getClientOriginalName();
    // 保存文件到目标目录
    $photo->move($destinationPath, $filename);

    // 在数据库中创建新纪录保存刚刚上传的文件
    $cafePhoto = new CafePhoto();

    $cafePhoto->cafe_id = $parentCafe->id;
    $cafePhoto->uploaded_by = Auth::user()->id;
    $cafePhoto->file_url = $destinationPath . DIRECTORY_SEPARATOR . $filename;

    $cafePhoto->save();
}
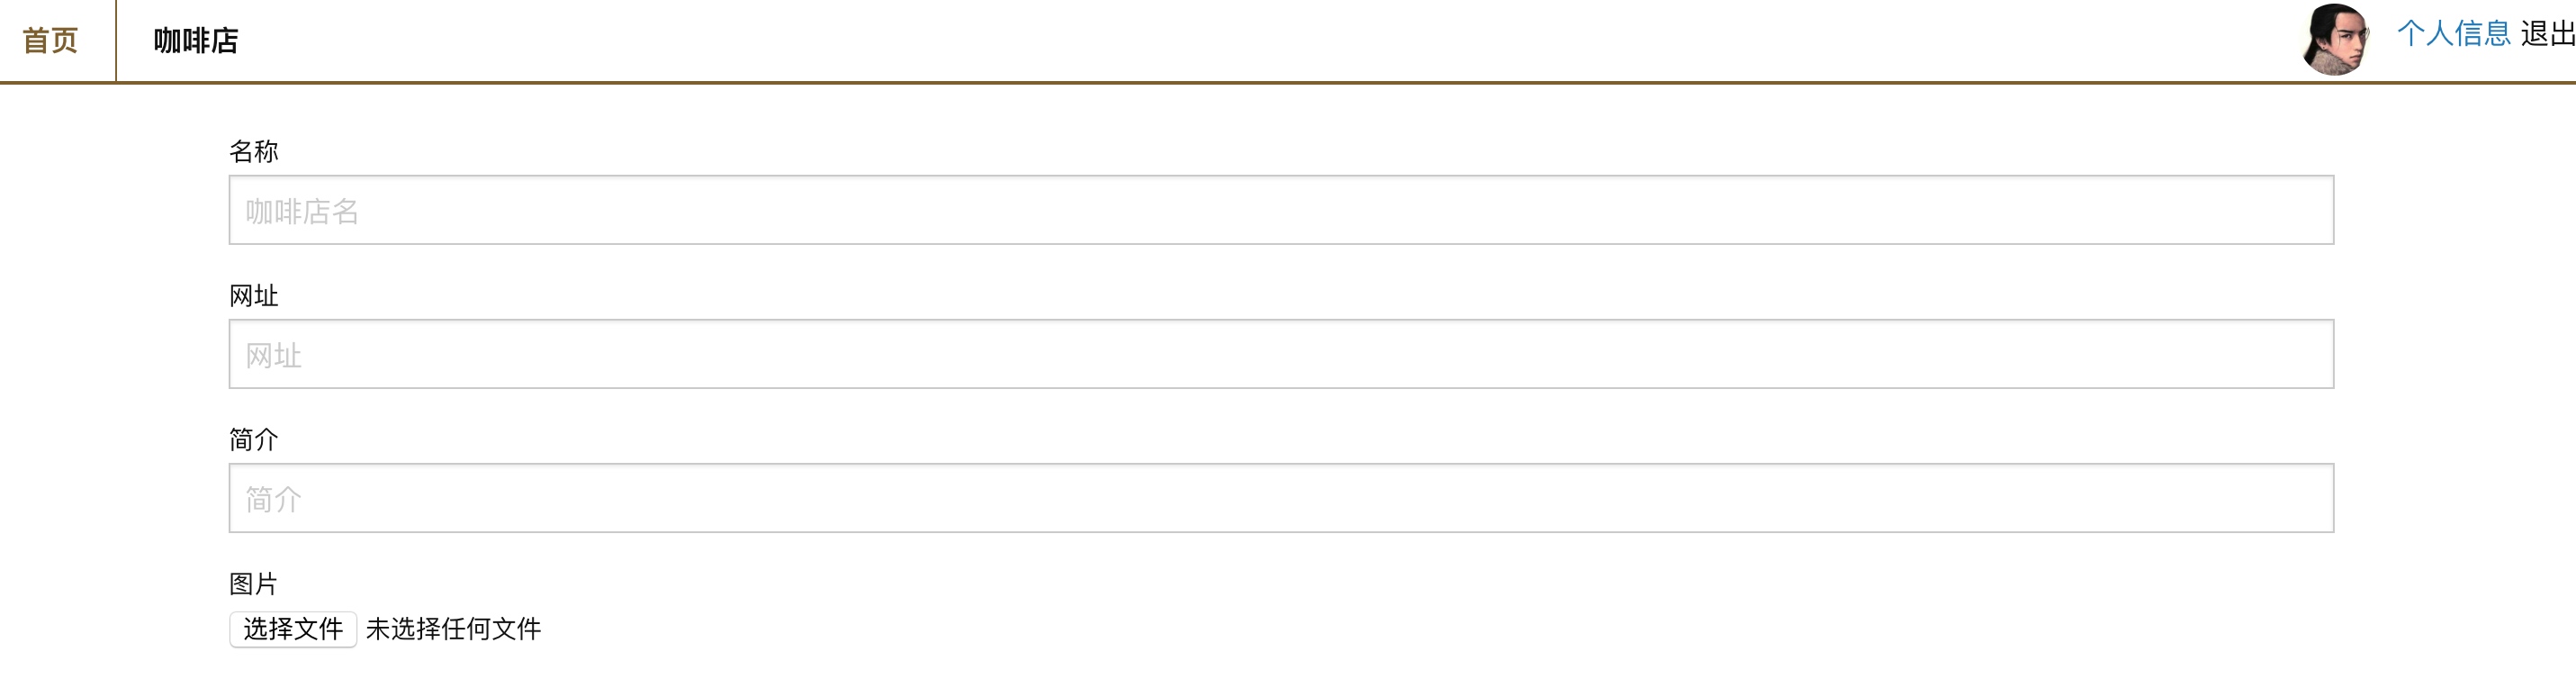
至此,上传图片前后端链路已经打通,运行 npm run dev 重新编译前端资源,在新增咖啡店页面 http://roast.test/#/cafes/new 就可以看到文件上传控件了:
新增带图片的咖啡店就可以在数据库中看到对应的图片记录,也可以在 storage/app/public/photos 目录下看到上传的图片。
11 条评论
按照上面文章写打印出来的SQL语句明显不对 array:2 [ 0 => array:3 [ "query" => "select * from
users" "bindings" => [] "time" => 3.1 ] 1 => array:3 [ "query" => "select * fromcafes_photoswherecafes_photos.idin (?)" "bindings" => array:1 [ 0 => null ] "time" => 0.54 ] ]