通过后端接口返回数据渲染 Vue 页面组件并实现分页功能
整体思路
在上篇教程中,我们在 Laravel 后端编写好了文章相关 API 数据接口,接下来,还需要在 Vue 页面组件中通过这些 API 接口返回的数据渲染前端页面,从而完成功能闭环。
对于单页面应用而言,所有的后端 API 接口数据都是通过客户端 JavaScript 发送 Ajax 请求获取的。
我们已经在基于 Tailwind 构建 UI 界面这篇教程中搭建好了前端单页面应用代码骨架,接下来,只需要通过 JavaScript 发送 Ajax 请求获取 API 接口数据渲染页面组件来取代之前的静态 HTML 代码即可。
最终的代码结构如下所示:
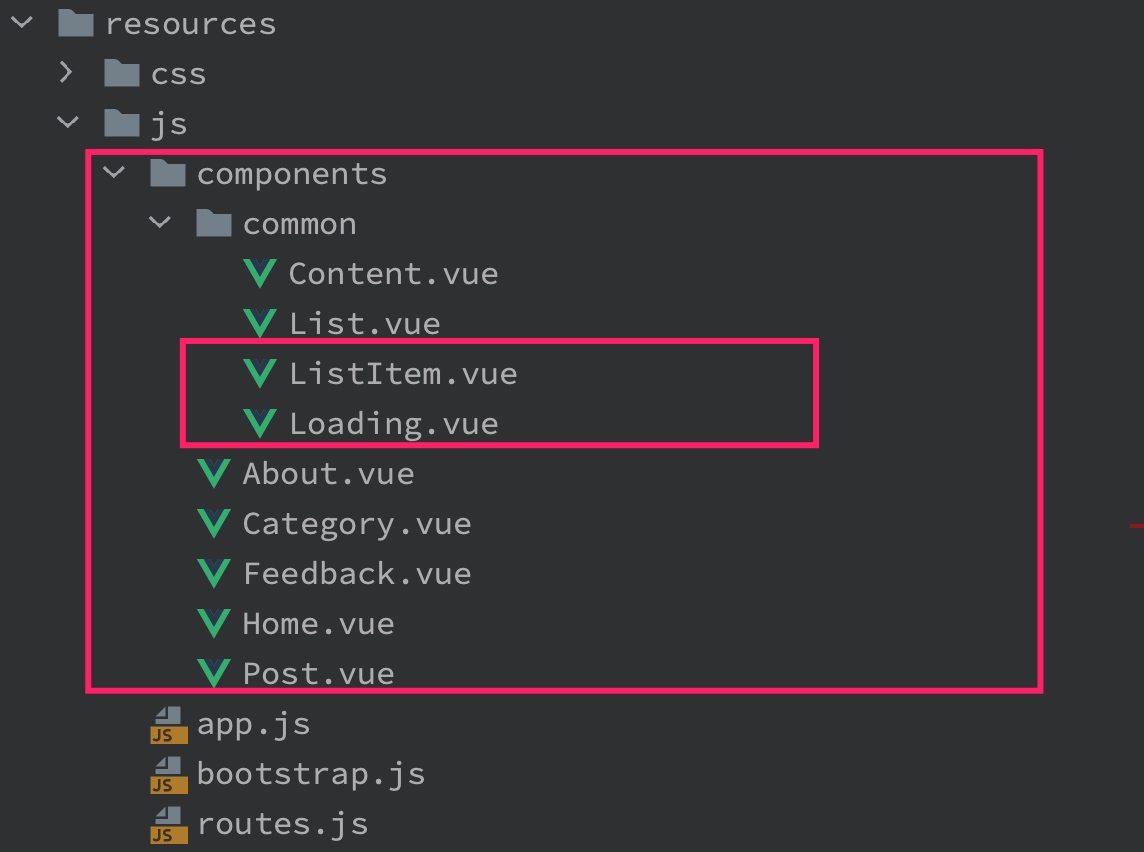
注意到与之前相比,新增了两个子组件:ListItem 代表 List 组件中的每个列表项,Loading 用于在博客列表页和文章详情页读取后端接口渲染数据期间显示动态加载效果。
本篇教程涉及到的所有项目代码已经提交到 Github 代码仓库:https://github.com/nonfu/demo-spa.git。
博客列表页
首页
首先看 Home.vue 这个首页组件的实现代码:
<template>
    <post-list v-if="loaded" :posts="posts" :links="links" @loadMorePosts="getMorePosts"></post-list>
    <loading v-else></loading>
</template>

<script>
import PostList from './common/List';
import Loading from "./common/Loading";
export default {
    components: {PostList, Loading},
    data() {
        return {
            posts: [],
            links: {},
            loaded: false
        }
    },
    mounted() {
        if (!this.loaded) {
            this.getAllPosts();
        }
    },
    methods: {
        getAllPosts() {
            axios.get('/api/posts').then((resp) => {
                this.posts = resp.data.data;
                this.links = resp.data.links;
                this.loaded = true;
            }).catch((err) => {
                console.log(err);
            })
        },
        getMorePosts(nextPageUrl) {
            axios.get(nextPageUrl).then((resp) => {
                this.posts.push(...resp.data.data);
                this.links = resp.data.links;
                this.loaded = true;
            }).catch((err) => {
                console.log(err);
            })
        }
    }
}
</script>
其中定义了三个模型属性:
posts用于存储首页文章列表数据links用于存储文章列表分页信息loaded用于表征是否已经读取后端接口加载数据
我们在 mounted 钩子函数中对首页文章列表数据进行初始化(此时对应的生命周期节点是 Vue 组件挂载成功之后,模型数据渲染之前),如果还没有读取后端接口加载数据,则调用 methods 方法列表中定义的 getAllPosts 方法加载数据。
在 getAllPosts 方法中,主要业务逻辑是通过 Axios 异步请求后端博客首页 API 接口(/api/posts),以便获取文章分页列表数据,如果请求成功则将文章数据和分页信息分别存放到 posts 和 links 模型属性,并更新 loaded 状态。
至于 getMorePosts 方法用于分页加载文章数据,我们后面在介绍分页功能实现的时候再介绍它。
文章数据和分页链接会借由 props 属性从父组件传递到子组件 List 中:
<template>
    <div>
        <list-item v-for="post in posts" :key="post.id" :post="post"></list-item>
        <div class="w-full text-center mx-auto">
            <button
                v-if="links.next"
                @click="loadMorePosts"
                type="button"
                class="border border-green-500 bg-green-500 text-white rounded-md px-4 py-2 m-2 transition duration-500 ease select-none hover:bg-green-600 focus:outline-none focus:shadow-outline"
            >
                加载更多文章
            </button>
        </div>
    </div>
</template>

<script>
import ListItem from "./ListItem";

export default {
    components: {ListItem},
    props: ['posts', 'links'],
    methods: {
        loadMorePosts() {
            this.$emit('loadMorePosts', this.links.next);
        }
    }
}
</script>
在这里,如果父组件传递过来的 posts 属性值(文章数据)不为空,则通过循环列表将其渲染出来,具体的列表项通过 ListItem 子组件渲染:
<template>
    <div class="border w-full lg:flex mb-5">
        <div class="h-48 lg:w-48 flex-none bg-cover text-center overflow-hidden opacity-75"
             :style="'background-image: url(' + post.image_url  +')'" :title="post.title">
        </div>
        <div class="bg-white px-4 flex flex-col justify-between leading-normal pt-2 pb-2">
            <div>
                <div class="mt-3 md:mt-0 text-gray-700 font-bold text-2xl mb-2">
                    <router-link :to="{ name: 'post', params: { id: post.id }}">
                        {{ post.title }}
                    </router-link>
                </div>
                <p class="text-gray-700 text-base">
                    {{ post.summary }}
                </p>
            </div>
            <div class="flex mt-3">
                <img :src="post.author.avatar_url" class="h-10 w-10 rounded-full mr-2 object-cover" />
                <div>
                    <p class="font-semibold text-gray-700 text-sm capitalize"> {{ post.author.name }} </p>
                    <p class="text-gray-600 text-xs"> {{ post.created_at }} </p>
                </div>
            </div>
        </div>
    </div>
</template>

<script>
export default {
    props: ['post']
}
</script>
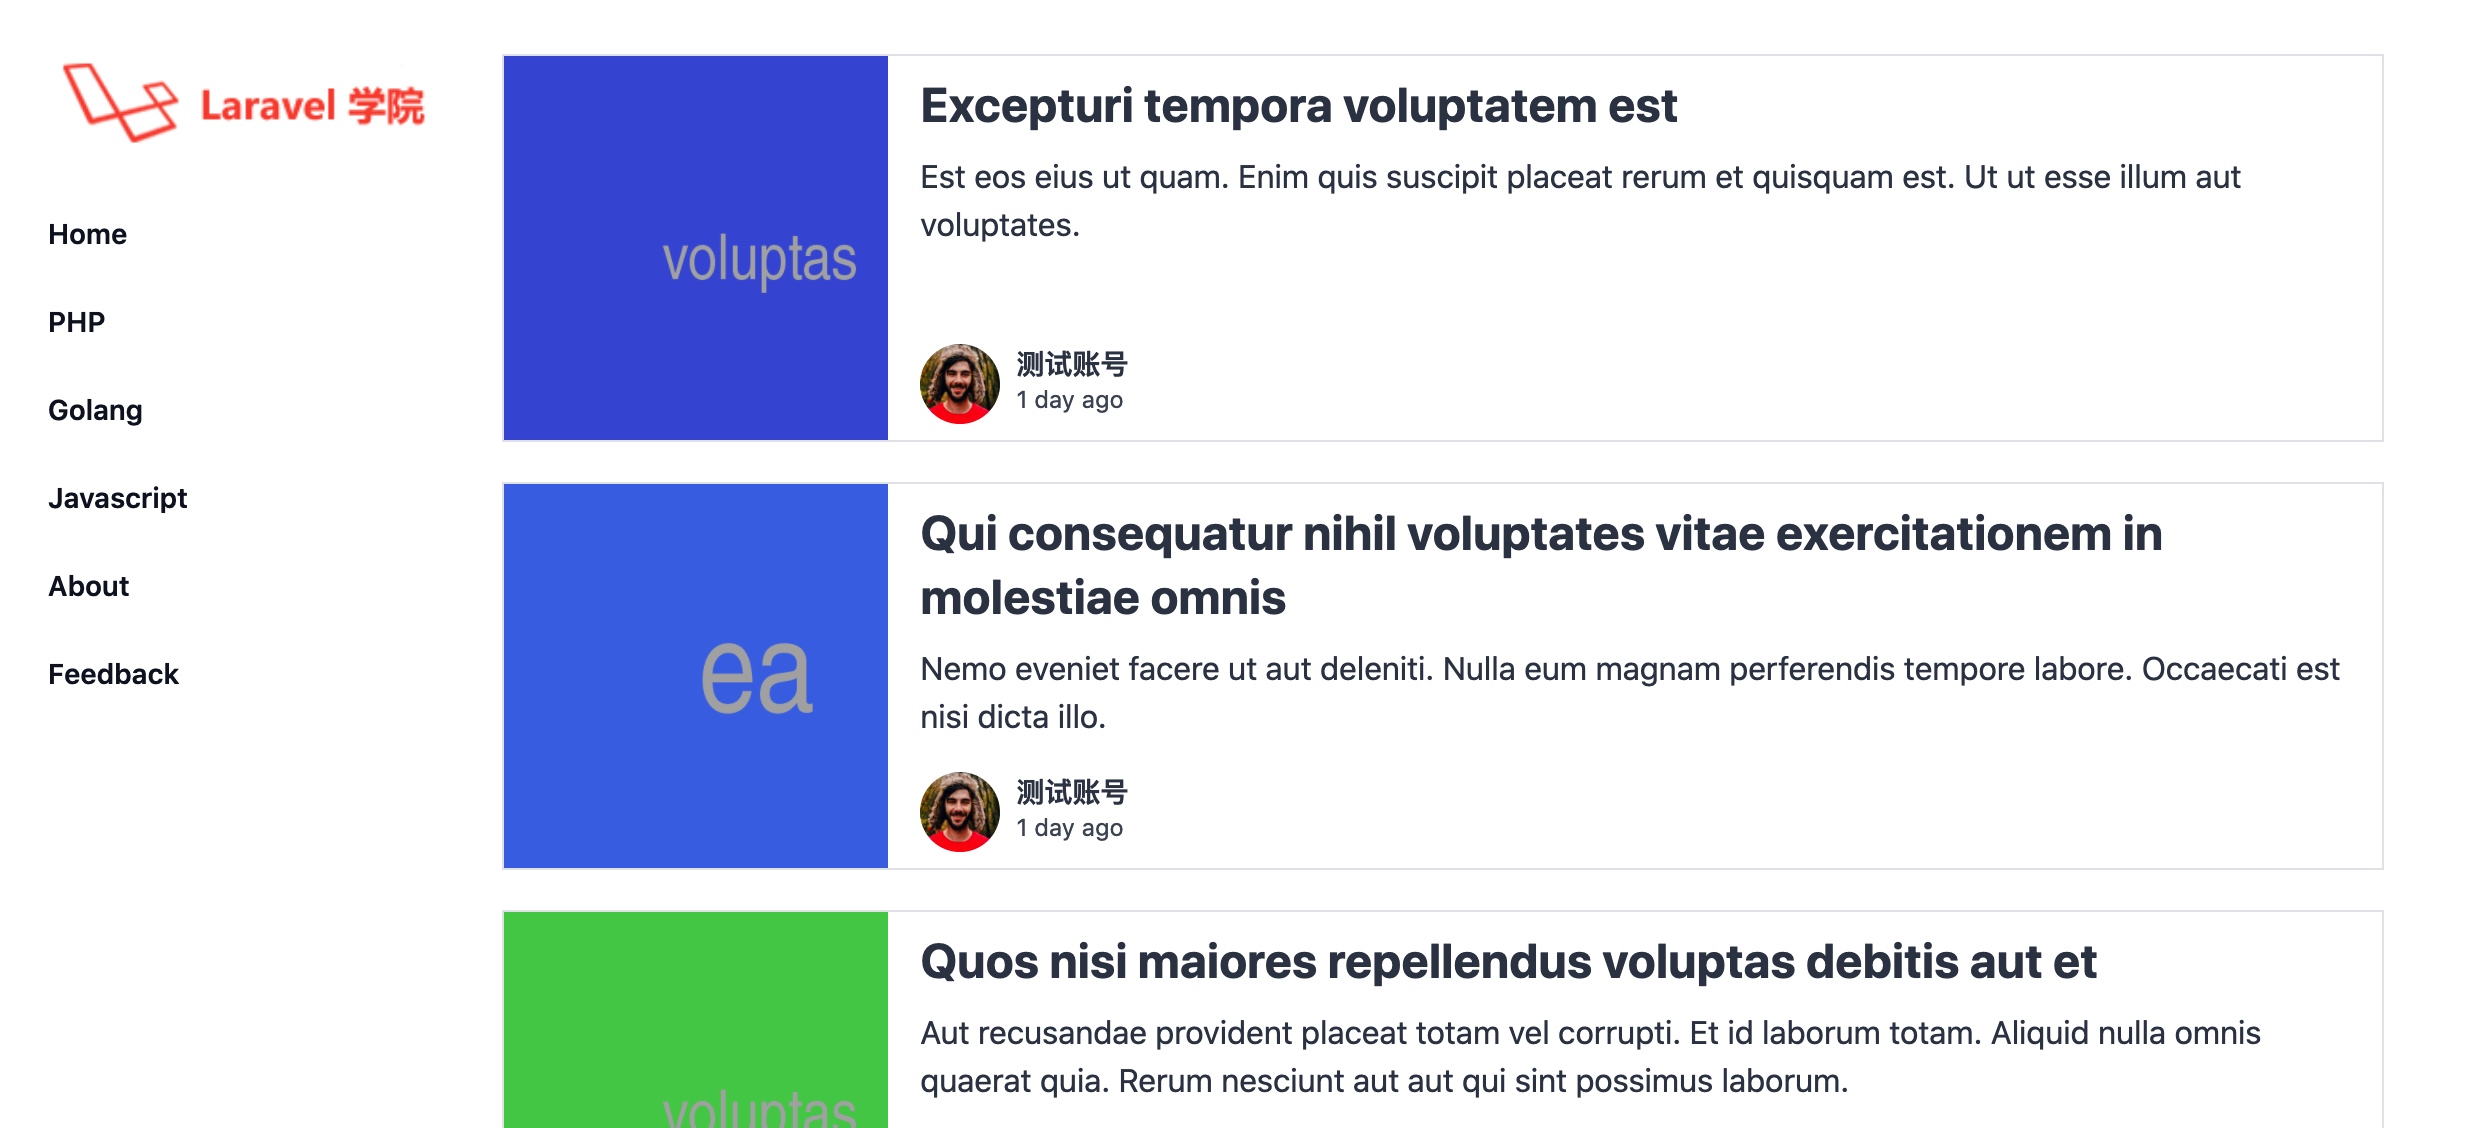
首页渲染结果如下所示:
分类列表页
分类列表页和博客首页实现思路基本一致,只是多了一个从路由参数解析分类名称以及 API 请求接口不同罢了:
<template>
    <post-list v-if="loaded" :posts="posts" :links="links" @loadMorePosts="getMorePosts"></post-list>
    <loading v-else></loading>
</template>

<script>
import PostList from './common/List';
import Loading from "./common/Loading";

export default {
    components: {PostList, Loading},
    data () {
        return {
            name: '',
            posts: [],
            links: {},
            loaded: false
        }
    },
    mounted () {
        if (!this.loaded) {
            this.updateCategoryName();
        }
    },
    watch: {
        '$route': 'updateCategoryName'
    },
    methods: {
        updateCategoryName ()  {
            this.name = this.$route.params.name.toUpperCase();
            this.getCategoryPosts();
        },
        getCategoryPosts() {
            axios.get('/api/posts/category/' + this.name).then((resp) => {
                this.posts = resp.data.data;
                this.links = resp.data.links;
                this.loaded = true;
            }).catch((err) => {
                console.log(err);
            })
        },
        getMorePosts(nextPageUrl) {
            axios.get(nextPageUrl).then((resp) => {
                this.posts.push(...resp.data.data);
                this.links = resp.data.links;
                this.loaded = true;
            }).catch((err) => {
                console.log(err);
            })
        }
    }
}
</script>
列表子组件和列表项子组件和博客首页共用的是同一套代码,因此这里不做介绍了。
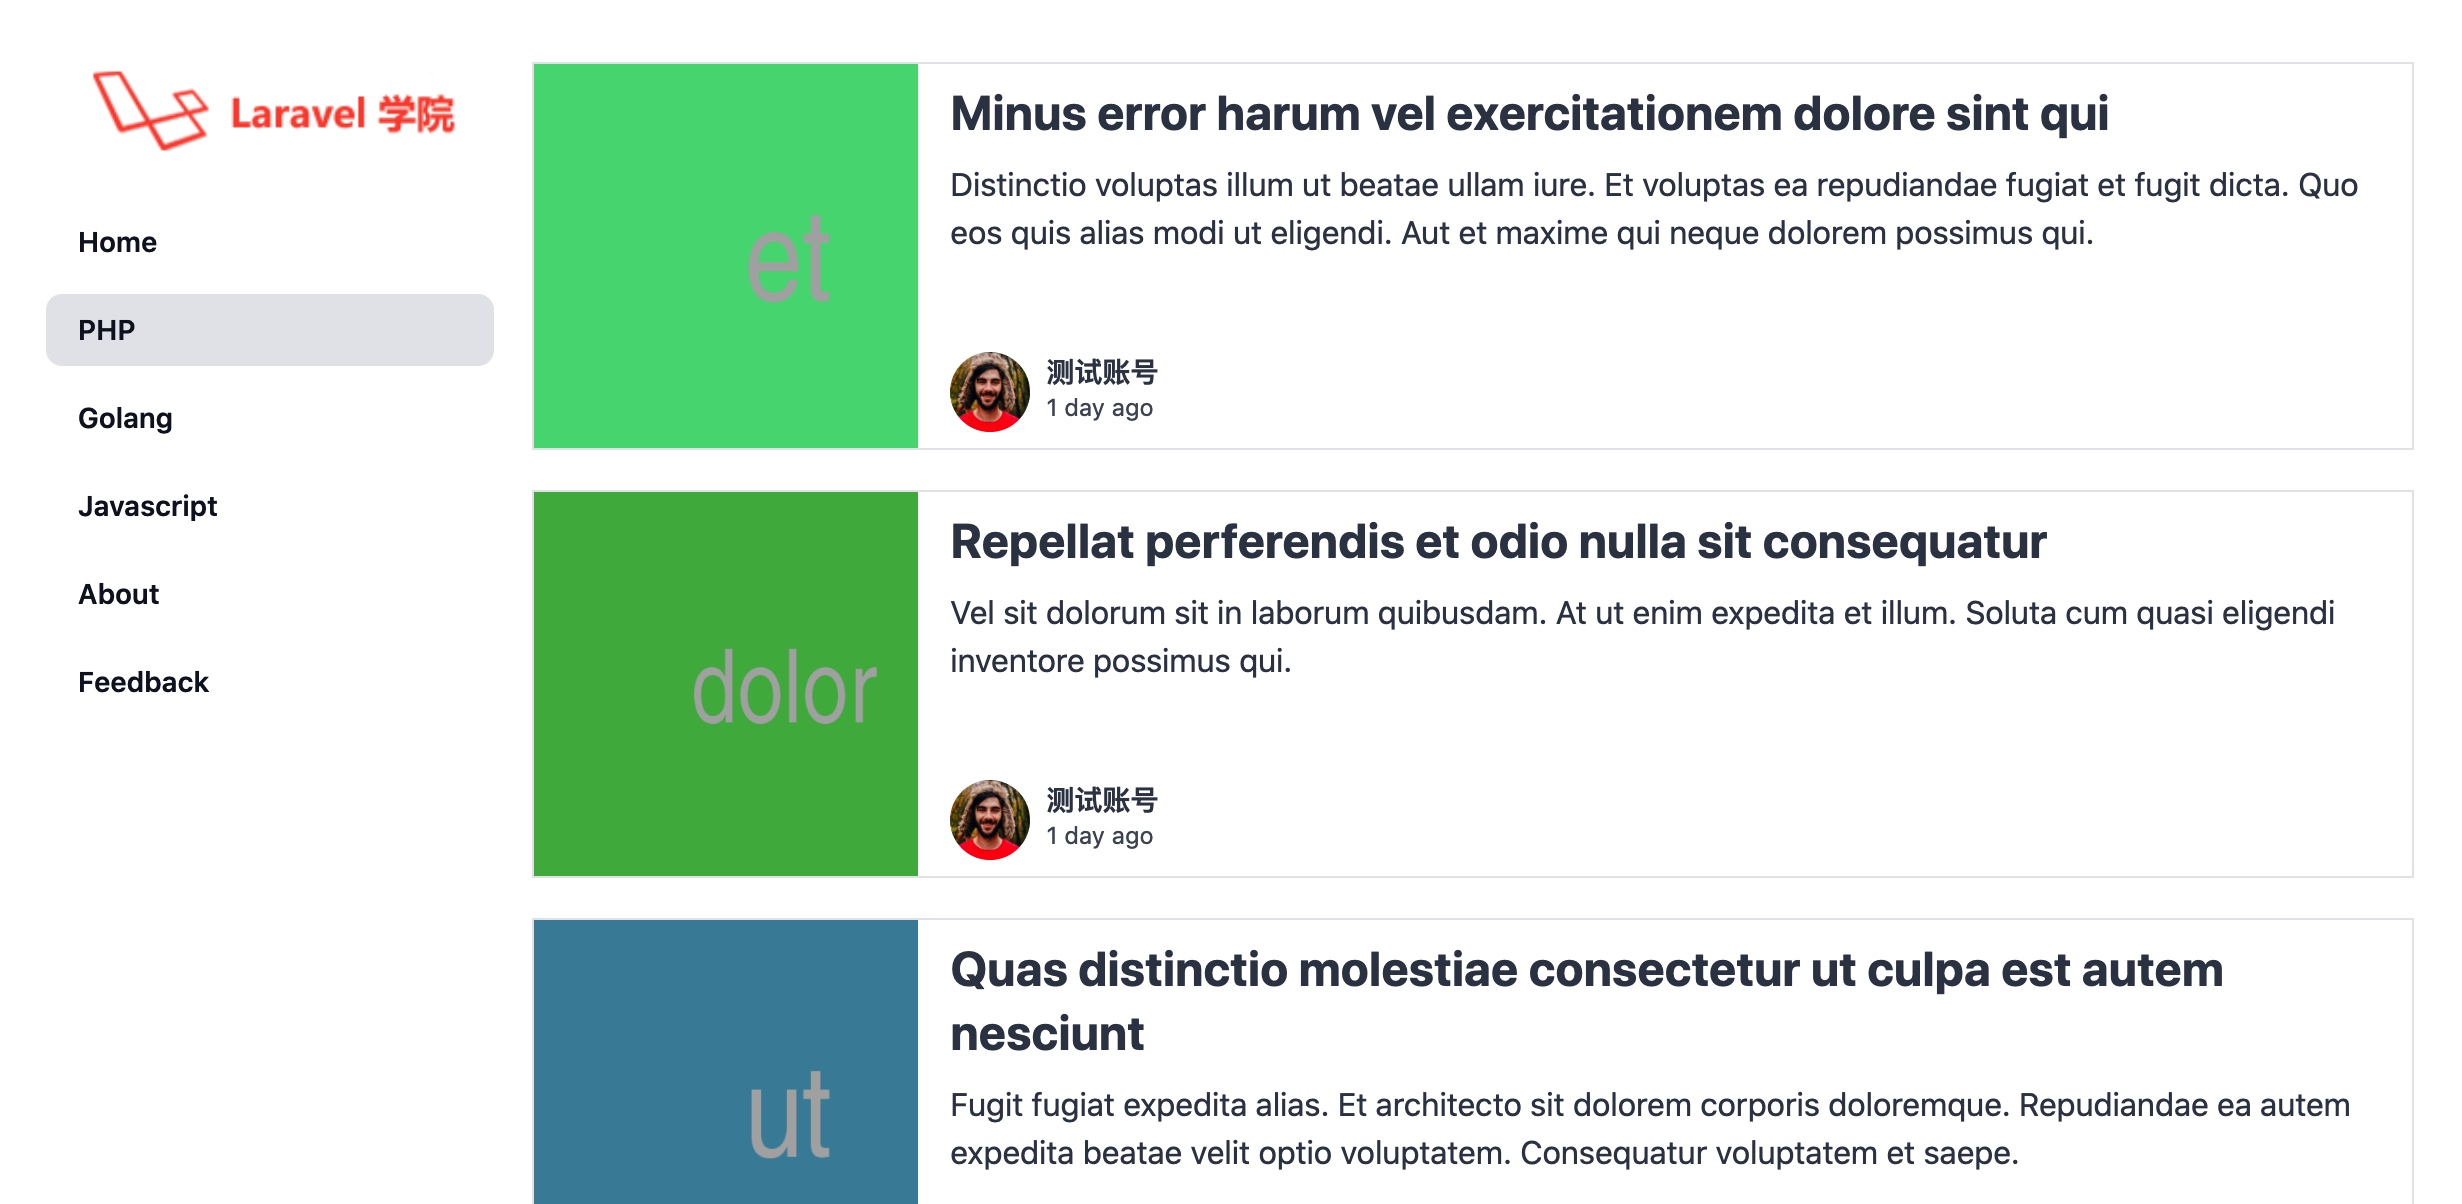
分页页面渲染结果如下所示:
分页加载功能
对于博客首页和分类列表页而言,需要实现分页加载功能,对应的分页加载按钮位于 List 子组件:
<div class="w-full text-center mx-auto">
    <button
        v-if="links.next"
        @click="loadMorePosts"
        type="button"
        class="border border-green-500 bg-green-500 text-white rounded-md px-4 py-2 m-2 transition duration-500 ease select-none hover:bg-green-600 focus:outline-none focus:shadow-outline"
    >
        加载更多文章
    </button>
</div>
如果从博客首页或者分页列表页父组件传递给 List 子组件的 links 属性(存储的是分页链接信息)中包含下一页链接且不为空,则显示这个加载按钮。
当点击这个按钮时,会触发父级作用域上定义的 loadMorePosts 事件,并且将下一页链接 URL 作为参数传递过去:
loadMorePosts() {
    this.$emit('loadMorePosts', this.links.next);
}
我们在首页或者分类页组件中都可以看到对应的事件监听和处理逻辑:
<post-list v-if="loaded" :posts="posts" :links="links" @loadMorePosts="getMorePosts"></post-list>

...

methods: {
    ...

    getMorePosts(nextPageUrl) {
        axios.get(nextPageUrl).then((resp) => {
            this.posts.push(...resp.data.data);
            this.links = resp.data.links;
            this.loaded = true;
        }).catch((err) => {
            console.log(err);
        })
    }
}
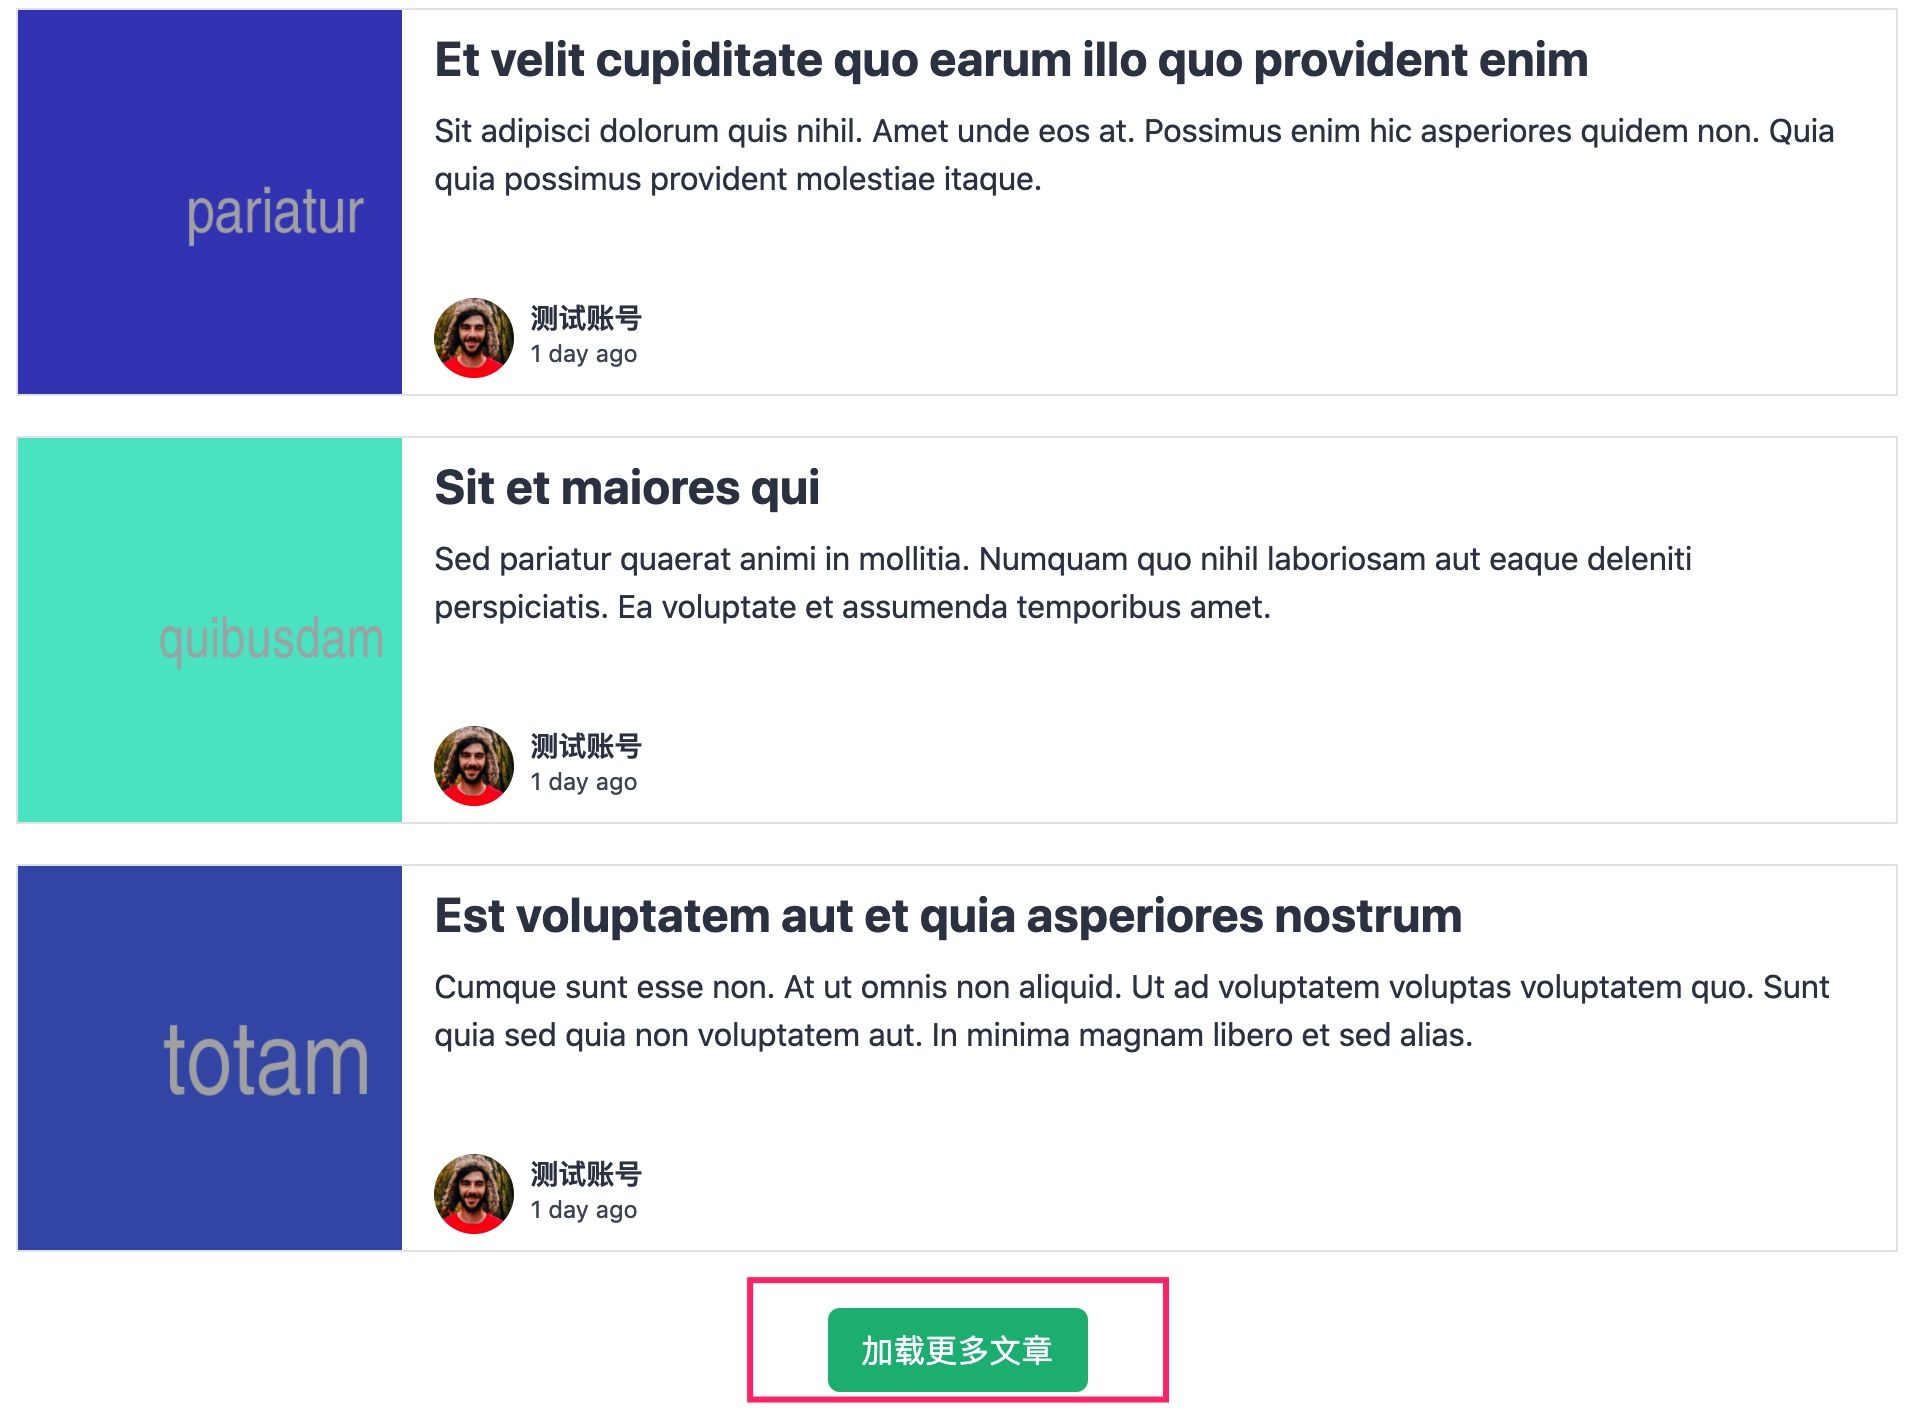
最终会调用 getMorePosts 方法,通过 Axios 发送分页 API 请求接口获取对应的文章列表数据和新的分页信息,我们将获取到的分页列表数据追加到 posts 数组,然后更新分页链接 links 对象,这样,就可以通过 props 属性将更新后的模型属性传递给列表子组件刷新视图模板,实现分页加载功能。
你可以在博客首页和分类页点击「加载更多文章」按钮体验分页加载效果:
文章详情页
我们在列表页为每个列表项的标题字段添加了指向文章详情页的链接:
<div class="mt-3 md:mt-0 text-gray-700 font-bold text-2xl mb-2">
    <router-link :to="{ name: 'post', params: { id: post.id }}">
        {{ post.title }}
    </router-link>
</div>
这样一来,点击这些链接就可以进入文章详情页了。
你可以在 Post.vue 中查看文章详情页页面组件的实现代码:
<template>
    <post-content :post="post" v-if="loaded"></post-content>
    <loading v-else></loading>
</template>

<script>
import PostContent from './common/Content';
import Loading from "./common/Loading";

export default {
    components: {PostContent, Loading},
    data () {
        return {
            post: null,
            loaded: false
        }
    },
    mounted() {
        if (!this.loaded) {
            this.getPostData(this.$route.params.id);
        }
    },
    methods: {
        getPostData(postId) {
            axios.get('/api/posts/' + postId).then((resp) => {
                this.post = resp.data.data;
                this.loaded = true;
            }).then((err) => {
                console.log(err);
            })
        }
    }
}
</script>
非常简单,通过 Axios 发送请求到文章详情页 API 接口,请求成功后,将文章数据赋值给 post 对象属性,再通过 props 属性传递给 Content 子组件进行渲染:
<style>
.post-content p {
    margin-bottom: 1.5rem;
}
</style>

<template>
    <div>
        <div class="mb-4 md:mb-0 w-full mx-auto relative" style="height: 24em;">
            <div class="absolute left-0 bottom-0 w-full h-full z-10"
                 style="background-image: linear-gradient(180deg,transparent,rgba(0,0,0,.7));"></div>
            <img :src="post.image_url" class="absolute left-0 top-0 w-full h-full z-0 object-cover" />
            <div class="p-4 absolute bottom-0 left-0 z-20">
                <router-link :to="{ name: 'category', params: { name: post.category.name }}" class="px-4 py-1 bg-black text-gray-200 inline-flex items-center justify-center mb-2">
                    {{ post.category.name }}
                </router-link>
                <h2 class="text-4xl font-semibold text-gray-100 leading-tight">
                    {{ post.title }}
                </h2>
                <div class="flex mt-3">
                    <img :src="post.author.avatar_url"class="h-10 w-10 rounded-full mr-2 object-cover" />
                    <div>
                        <p class="font-semibold text-gray-200 text-sm"> {{ post.author.name }} </p>
                        <p class="font-semibold text-gray-400 text-xs"> {{ post.created_at }} </p>
                    </div>
                </div>
            </div>
        </div>

        <div v-html="post.content" class="post-content px-4 lg:px-0 mt-12 text-gray-700 mx-auto text-lg leading-relaxed">
        </div>
    </div>
</template>

<script>
export default {
    props: ['post']
}
</script>
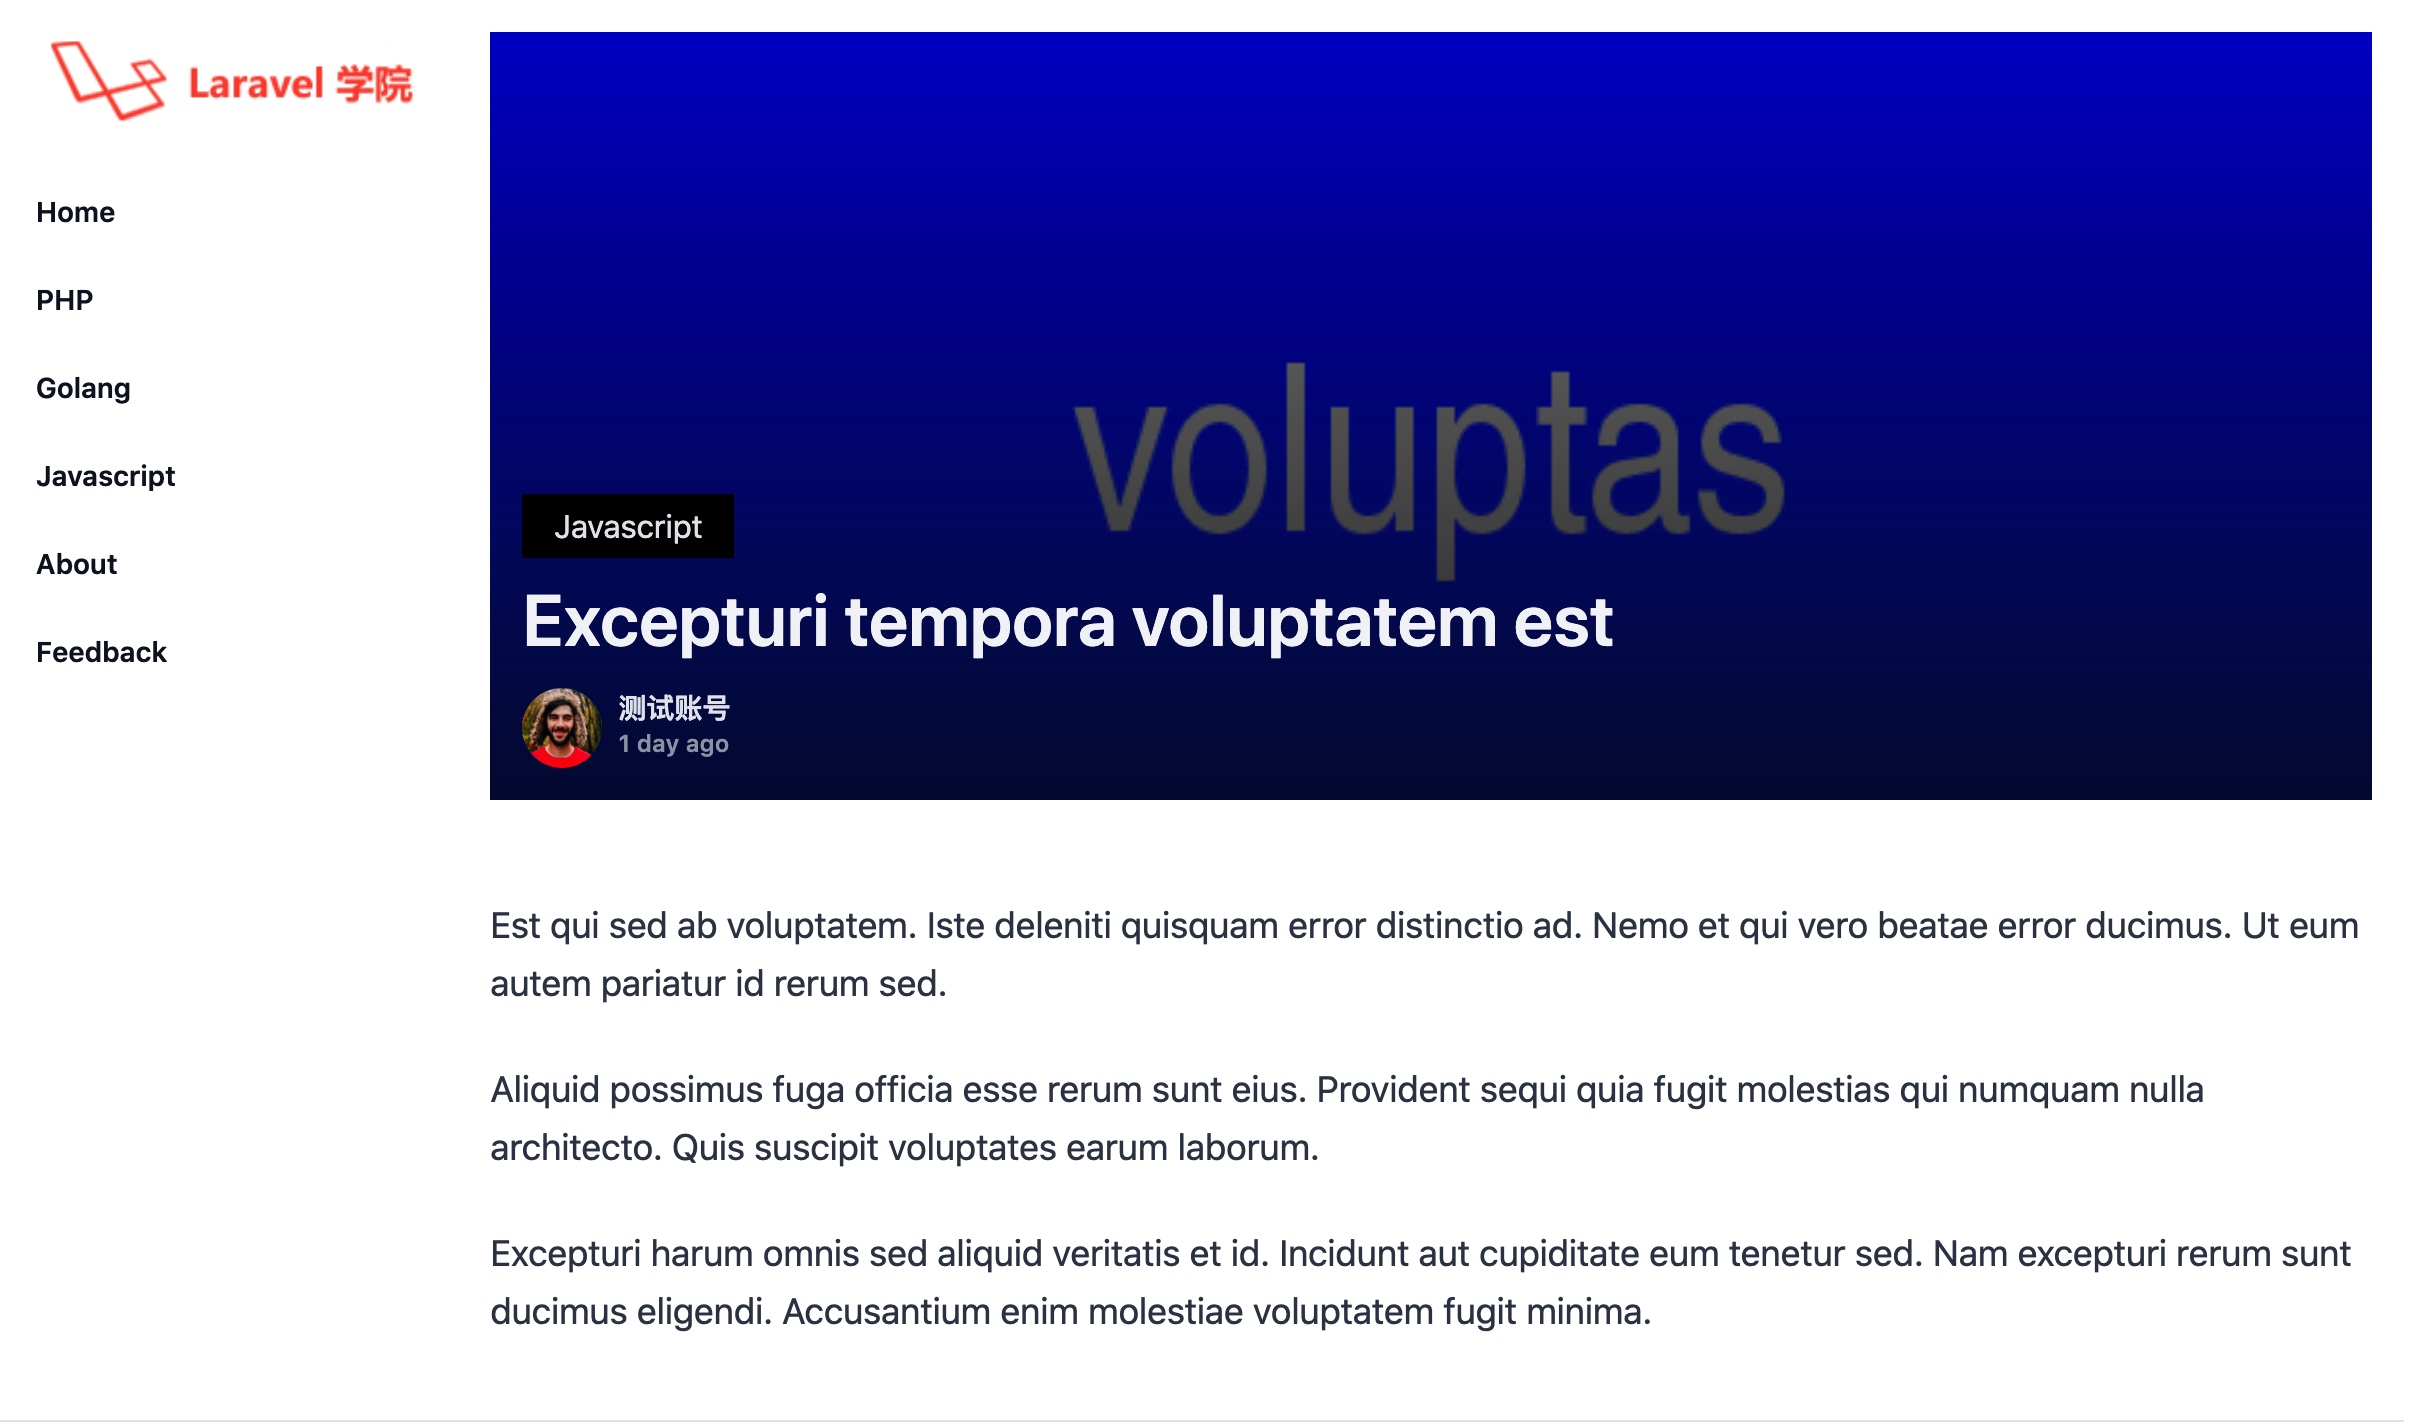
文章详情页的渲染效果如下所示:
下篇教程,我们将基于 Vuex 对单页面应用的数据状态存储和更新进行优化。
无评论